Apply gauze pads by cleaning the wound, selecting the right size, placing a non-adherent layer if needed, and securing with tape or a wrap. Proper application prevents friction, manages drainage, and supports healing while maintaining infection control.
- Proper gauze pad application starts with hand hygiene and wound cleaning to reduce contamination risk.
- Use a non-adherent layer under adhesive gauze when the wound is moist to prevent sticking and tissue damage.
- Secure dressings with medical tape or wraps that hold the pad without restricting circulation.
- Check dressing integrity and drainage regularly to adjust care as needed.
Why Gauze Pads Are Still a Standard
Gauze pads remain a common first choice for covering open wounds because they are inexpensive, available in multiple sizes, and easy to layer. They work well for minor cuts, abrasions, and small surgical sites where the wound is not deeply exudative. The material is usually a woven cotton or non-woven blend that absorbs fluid without adding strong adhesive chemicals to the tissue.
The main challenge is not the product itself. The challenge is the method. A gauze pad applied loosely can shift and introduce bacteria. A pad applied too tightly can restrict blood flow. A wet pad left in place too long can macerate the wound edges. The steps below focus on a reliable application process that keeps the wound clean, dry enough to heal, and protected from mechanical irritation.
What You Need Before You Start
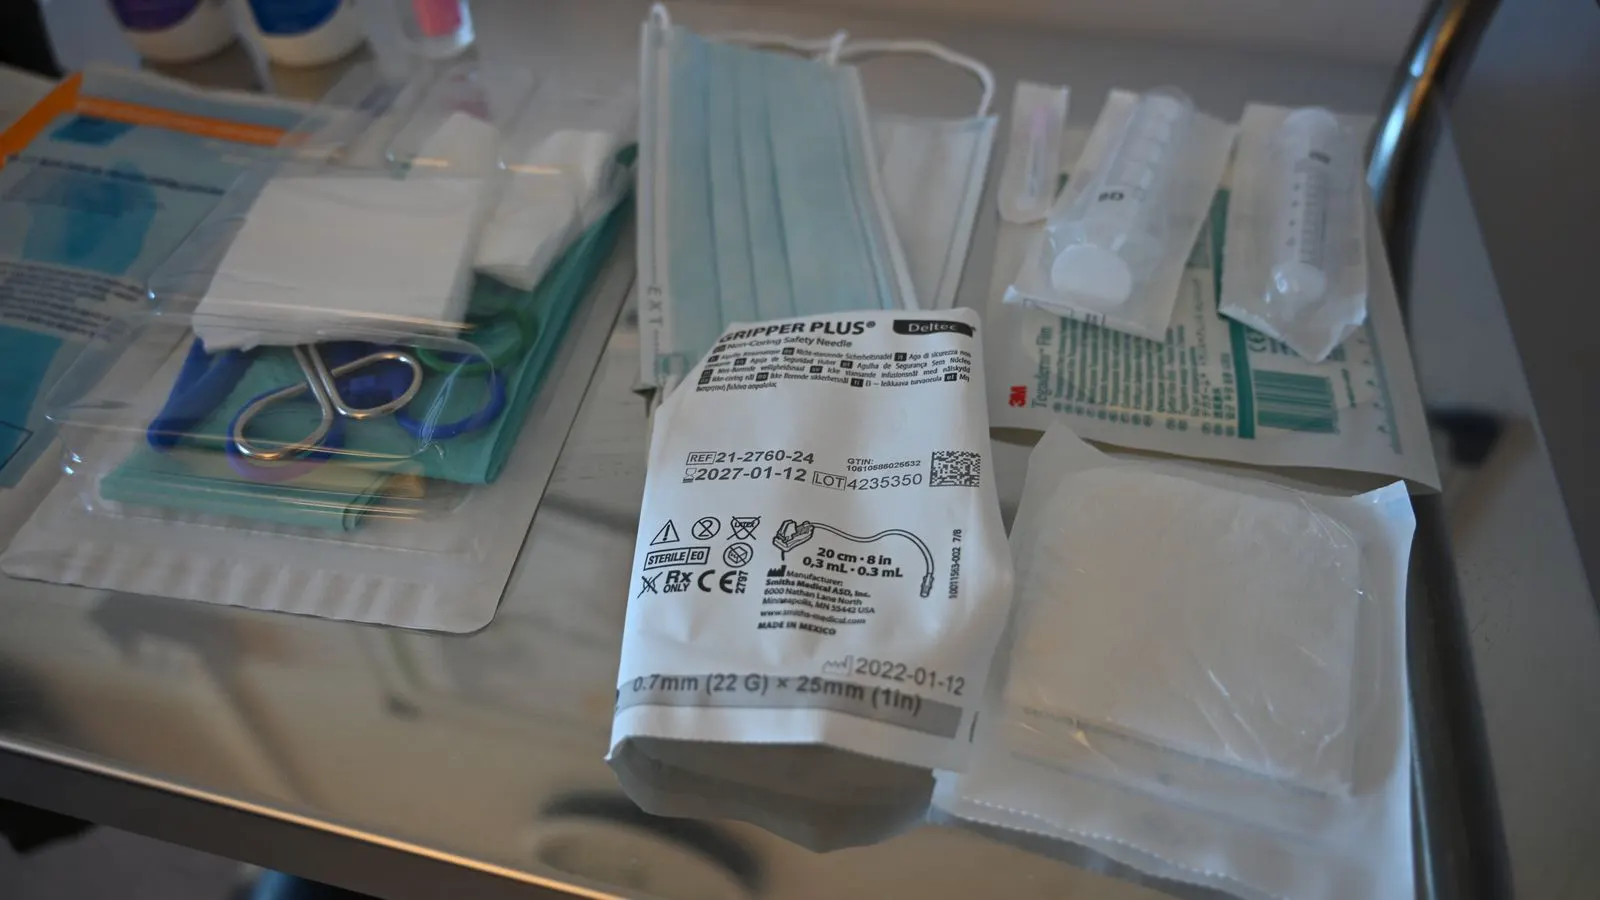
Before touching the patient or the wound, gather the supplies and prepare the environment.
- Sterile or clean gauze pads in the correct size.
- Medical adhesive tape or a self-adherent wrap.
- Antiseptic solution appropriate for the wound type.
- Clean gloves.
- A container for soiled dressings.
- A place to wash or sanitize hands.
The size of the pad matters. A pad should cover the wound and extend at least two centimeters beyond the wound edges on all sides. This margin helps keep the dressing from pulling on the skin and gives enough room for fluid to wick outward without reaching the tape edges. If the wound is on a joint, choose a flexible pad or plan to use a wrap that moves with the limb.
Check the packaging for signs of damage. A torn seal or a visibly soiled pad should not be opened. Open the package only when the application is ready to begin.
Step-by-Step Application Method
-
Wash and dry your hands, then put on clean gloves.
Hand hygiene reduces the chance that skin flora or environmental bacteria transfer to the wound. Gloves also protect the applicator from wound exudate. -
Inspect the wound before applying any dressing.
Look for depth, bleeding, foreign material, odor, and signs of infection. If bleeding is active, apply direct pressure first. Do not cover an uncontrolled bleed with a standard gauze pad. -
Clean the wound with an approved antiseptic.
Use a gentle technique. For minor wounds, clean from the center outward to avoid dragging bacteria into the wound bed. For deeper or surgical wounds, follow the facility protocol. Allow the area to dry slightly if the antiseptic is not intended to leave a residue. -
Place a non-adherent layer if the wound is moist or the skin is fragile.
This layer sits directly against the wound. It prevents the gauze from sticking to the tissue during removal. Without it, each dressing change can pull healing cells and cause pain. -
Lay the gauze pad over the non-adherent layer.
Smooth the pad flat. Avoid wrinkles or folds that create pressure points. The pad should sit level with the skin surface, not bunched on one side. -
Add a second gauze layer if the wound produces moderate drainage.
Extra absorption protects the skin around the wound from wetness. If the outer layer becomes saturated quickly, the wound may need a more absorbent dressing or more frequent changes. -
Secure the dressing with tape or a wrap.
Tape should be placed over the pad edges, not directly on the skin, unless the area is very small and the skin is not fragile. On limbs, a wrap can hold the pad without relying on tape alone. The dressing should stay in place during normal movement. -
Verify the fit and document the application.
Check that the dressing is not loose, not tight, and not covering a joint in a way that restricts motion. Note the size of the pad, the type of antiseptic used, and the time of application.
Common Mistakes That Reduce Effectiveness
Loose tape is the first mistake. If the tape lifts during movement, the pad shifts and the wound is exposed to friction. Re-secure the tape or switch to a wrap.
The second mistake is applying the pad directly to a wet or oozing wound without a barrier. The gauze bonds to the tissue and removal becomes traumatic.
A third mistake is using too much tape. Over-taping can cause skin irritation, especially on thin skin. Use the minimum amount that holds the dressing.
A fourth mistake is leaving a dry, saturated pad in place. Wetness against the skin breaks down the epidermis and creates a secondary injury. Replace the dressing when the outer layer is wet or soiled.
A fifth mistake is using the wrong size. A pad that is too small pulls at the wound edges. A pad that is too large can bunch and create uneven pressure.
Choosing the Right Gauze for the Wound
Not every gauze pad suits every wound. The table below compares typical uses and helps you match the material to the clinical situation.
| Wound Type | Typical Gauze Use | Key Consideration |
|---|---|---|
| Minor cut or abrasion | Single non-adherent layer plus one gauze pad | Keep the pad dry and change when soiled |
| Moderate drainage | Two gauze layers over a non-adherent base | Replace before the outer layer saturates |
| Joint area | Flexible pad with a wrap | Allow movement without shifting |
| Thin skin area | Light tape or low-pressure wrap | Avoid adhesive directly on fragile skin |
| Surgical site | Per protocol, often with a barrier layer | Follow facility guidance and closure status |
The material matters, but so does the environment. In a home setting, the patient may move the limb constantly. In a facility setting, the dressing may stay in place for a longer period. Adjust the securing method to the setting.
Verification and Dressing Change
The final step is a verification check. After the dressing is applied, ask the patient to move the affected area. If the dressing shifts, add tape or adjust the wrap. If the patient reports pain, check whether the dressing is too tight or whether the non-adherent layer is missing.
Set a reminder for the next dressing change. The timing depends on drainage, wound type, and local practice. A dry dressing may last longer than a wet one. A clean environment may allow a longer interval than a high-moisture environment.
During each change, inspect the wound bed. If the tissue looks healthy, proceed with the next layer. If there is increased redness, odor, pus, or pain, stop the routine change and follow the escalation process for your setting.
When Gauze Pads Are Not the Best Option
Gauze pads work well for many superficial wounds. They are not the best choice for every situation. A highly exudative wound may require a more absorbent dressing. A wound that needs a moist environment may need a different type of product. A wound with a high infection risk may need a specialized dressing and closer monitoring.
If the wound is deep, irregular, or near a major blood vessel, standard gauze alone is not enough. Use the correct clinical judgment and follow the protocol for that specific condition. The application steps above are a baseline. They do not replace assessment, infection control, or facility-specific requirements.
Practical Checklist for Application
Use this short checklist before and after each dressing change.
- Hands washed and gloves on.
- Wound inspected and cleaned.
- Correct pad size selected.
- Non-adherent layer placed if needed.
- Gauze smoothed flat without wrinkles.
- Tape or wrap applied without excessive pressure.
- Patient movement checked.
- Dressing change time recorded.
Final Verification
The correct application of gauze pads is a process, not a single action. The wound must be clean, the layers must be appropriate, and the dressing must stay in place without causing pressure or irritation. When the pad is secure, the skin is protected, and the drainage is managed, the dressing does its job. When any one of those points fails, the dressing can become part of the problem instead of the solution.
Frequently asked questions
How often should I change a gauze pad?
Change it when the outer layer is wet, soiled, or loose. The exact interval depends on drainage, wound type, and local protocol.
Can I use regular household gauze on a wound?
No. Use sterile or clean medical gauze intended for wound care. Household products may contain fibers or residues that can irritate the wound.
How do I stop a gauze pad from sticking to the wound?
Use a non-adherent layer between the wound and the gauze. This barrier prevents the pad from bonding to tissue during removal.
What if the dressing becomes wet and saturated?
Replace it. A saturated dressing can macerate the surrounding skin and reduce the effectiveness of the dressing.
Can gauze pads be used on surgical wounds?
They can be, but only when the surgical closure and wound condition are appropriate. Follow facility protocol and surgeon guidance.