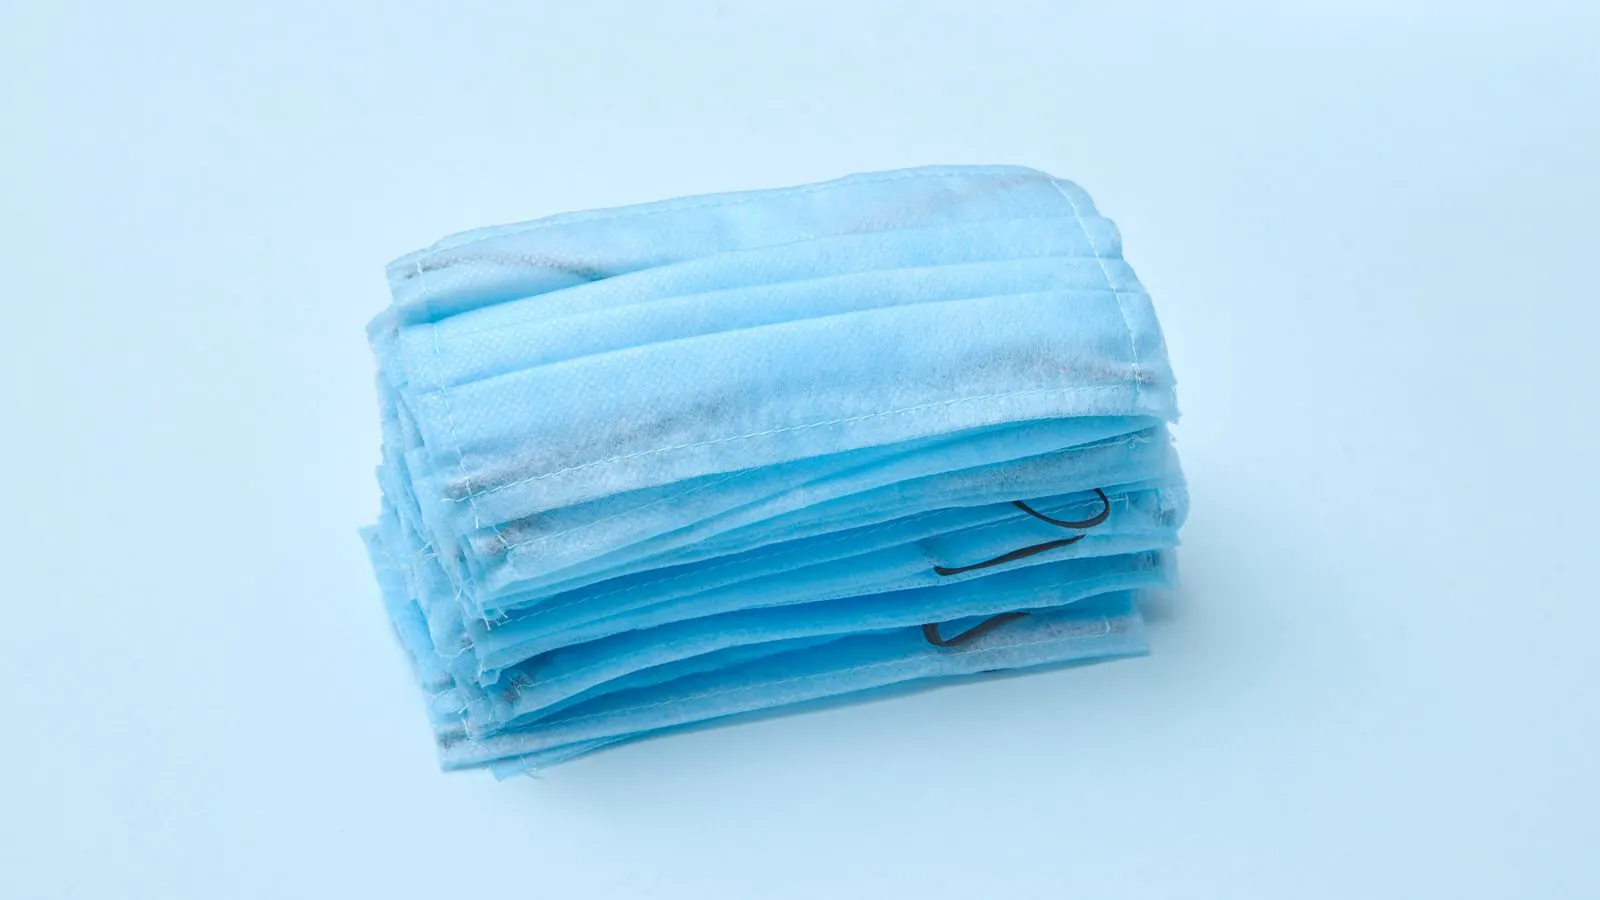
Effective mask fit requires checking head dimensions, securing ear loops, and smoothing the nose strip. This guide provides a practical sequence for adjusting surgical masks to prevent gaps, reduce fogging, and maintain comfort during extended clinical use.
- Measure head width and height before purchasing to select the correct mask size.
- Use the nose strip to create a tight seal at the bridge, not just the tip.
- Check for air gaps at the cheeks and jawline after each adjustment.
- Replace or swap masks if ear loop pressure causes bruising or skin irritation.
- Perform a negative pressure test by breathing through the mask to verify the seal.
Why Mask Fit Matters for Comfort and Protection
A poorly fitted mask creates gaps at the cheeks, chin, or nose. These gaps allow air to leak in and out, reducing the barrier effect and causing the wearer to breathe harder. The physical strain of breathing through a mask with a loose seal increases fatigue. For medical staff working long shifts, this discomfort often leads to frequent repositioning, which breaks the seal and introduces contamination risk. Proper fit addresses both the protection aspect and the ergonomic aspect of wearing protective equipment.
Checking Your Head Dimensions for Correct Sizing
Mask sizing is not based on clothing size or height. It is determined by the specific dimensions of the head and face. Before selecting a mask, measure two key points.
- Head width. Measure across the widest part of the forehead, just above the ears. This determines whether a standard or large size is needed.
- Head height. Measure from the top of the head to the tip of the nose. This affects how the top of the mask sits relative to the hairline and ears.
If the head width falls between two standard sizes, choose the larger size. A mask that is too tight across the forehead causes pressure headaches. A mask that is too loose across the face creates gaps that cannot be fixed by pulling the ear loops.
Adjusting the Nose Strip for a Secure Seal
The nose strip is the most critical part of mask fit. It must conform to the bridge of the nose, not just rest on the tip.
- Place the mask on your face with the nose strip at the top edge.
- Align the strip with the bridge, ensuring it sits between the eyes and the nostrils.
- Press the strip firmly with your fingertips.
- Work from the center outward, smoothing the plastic or metal wire into the skin.
- Check for wrinkles or bubbles in the fabric near the nose.
The goal is a smooth, continuous line. If you see gaps, the strip is not conforming. If you feel sharp pressure points, the strip may be bent too tightly or the mask size may be incorrect. A well-fitted nose strip reduces air leakage and prevents glasses from fogging.
Securing the Ear Loops Without Excessive Tension
Ear loops provide the lateral tension that holds the mask against the face. However, incorrect tension is a common source of discomfort.
- Position the loop behind each ear.
- Pull the loop gently until the mask sits snug against the cheek.
- Stop pulling when you feel resistance from the face, not from the ear.
- Adjust both loops evenly.
Do not pull the mask up to the forehead to tighten the fit. This creates a gap at the jaw and increases pressure on the ear lobes. If the mask is too loose at the cheeks, the ear loops may not be the only solution. The mask size may be too large, or the nose strip may not be sealing the top, allowing air to expand the mask at the bottom.
Smoothing the Fabric to Eliminate Gaps
Even with a tight nose strip and proper ear loop tension, fabric folds can create channels for air.
- Use your palms to smooth the fabric from the nose strip down to the chin.
- Press the sides of the mask against the cheeks.
- Check the area under the eyes and over the bridge of the nose.
- Check the area around the jawline.
Look for any fabric that is bunched up or pulled taut in a way that creates a ridge. If you see a fold, adjust the ear loop or the nose strip. The mask should sit flat against the skin. Any visible gap between the mask and the face indicates a fit issue.
Common Mistakes That Ruin Mask Fit
Several habits degrade mask fit and comfort.
| Mistake | Consequence | Correction |
|---|---|---|
| Wearing mask too high on face | Air leaks at jaw | Pull mask down to sit just above chin |
| Ignoring nose strip wrinkles | Air leaks at nose | Smooth strip firmly from center outward |
| Over-tightening ear loops | Ear pain and head pressure | Loosen until snug, not tight |
| Using wrong size mask | Gaps at cheeks or forehead | Measure head and select correct size |
| Reusing bent nose strips | Poor seal after first use | Replace mask if strip loses shape |
Bent nose strips are a frequent issue. After the first use, the wire may retain a shape that no longer matches the nose. This prevents a proper seal. If you notice this, replace the mask. Do not attempt to re-bend the strip if it is a single-use product, as this may damage the material or create a weak point.
Final Verification: The Negative Pressure Test
The final step is to verify the seal. This is a quick check that can be done in seconds.
- Place your fingers on both sides of the nose strip.
- Breathe in through your nose.
- Feel for air moving between your fingers and the mask.
If you feel air, the seal is broken. Adjust the nose strip or the ear loops and repeat the test. The absence of air movement indicates that the mask is creating a slight vacuum against the face. This is the correct state for optimal protection and comfort. If you cannot achieve this seal, the mask size is likely incorrect, or the mask is damaged.
When to Replace a Mask for Fit Reasons
Not all fit issues can be fixed by adjustment. Replace the mask if:
- The nose strip does not hold its shape.
- The ear loops are stretched or frayed.
- The fabric is torn or has holes.
- The mask feels loose even after maximum adjustment.
- You experience persistent pressure pain that does not go away.
In clinical settings, a mask that is uncomfortable will be adjusted repeatedly. This increases the risk of contamination and fatigue. If a batch of masks consistently causes fit problems, review the sizing. Different head shapes require different sizes. Standard sizes may not fit everyone equally.
Maintaining Comfort During Long Shifts
Even a perfectly fitted mask can cause discomfort over time. Skin pressure, moisture, and heat are factors that build up.
- Rotate masks if protocols allow.
- Take short breaks in clean areas to remove the mask and let the skin recover.
- Keep the nose strip clean and dry.
- Avoid touching the front of the mask.
If you feel moisture building on the inside, it may indicate that the mask is not fitting tightly enough, or that you are breathing heavily. Both can be addressed by checking the seal. A tight seal reduces the need to breathe hard and minimizes condensation inside the mask.
Troubleshooting Specific Fit Problems
If you encounter a specific issue, use these targeted fixes.
Problem: Air leaks at the cheeks.
This usually means the mask is too large or the ear loops are too loose. Try tightening the loops slightly. If that does not work, the mask size is likely too big. Move to a smaller size.
Problem: Air leaks at the nose.
This is almost always a nose strip issue. The strip may be too flat, too loose, or bent. Smooth it again. If it is bent, replace the mask.
Problem: Ear pain.
This is often caused by over-tightening. Loosen the loops. If the pain persists, the mask may be too small, causing the fabric to press into the ear canal. Move to a larger size.
Problem: Mask slides down.
This can happen if the hair is pulled into the mask or if the mask is too light. Ensure the hair is contained. If the mask is too light, a larger size may help, but it may increase cheek gaps. Balance these factors.
Conclusion on Mask Fit
Mask fit is a skill that develops with practice. It requires checking dimensions, adjusting components, and verifying the seal. The process is quick once you are familiar with it. The payoff is significant. A well-fitted mask provides better protection and significantly less discomfort. In high-volume environments, where masks are worn for hours, this difference matters. Train staff on these steps. Make the fit check part of the standard donning procedure. Consistency ensures that every wearer gets the benefit of a secure, comfortable seal.
Frequently asked questions
How do I know if my mask size is correct?
Measure your head width and height. If the mask sits snugly without gaps at the cheeks or nose, and the ear loops are not painfully tight, the size is likely correct. If you need to pull the mask up to your forehead to tighten it, it is too loose.
Can I fix a mask that is too loose?
You can try tightening the ear loops and smoothing the nose strip. If gaps remain at the cheeks or jaw, the mask is likely the wrong size. In that case, switching to a smaller size is the best solution.
Why do my glasses fog up when I wear a mask?
Fogging happens when warm, moist air leaks from the nose and hits the cold lenses. This is a sign of a poor seal at the nose strip. Press the strip firmly into the bridge of your nose to create a tight seal.
Is it better to have a tight mask or a loose mask?
A mask should be snug, not tight. A tight mask causes pressure pain and may damage the nose strip. A loose mask allows air to leak. Aim for a snug fit that holds against the face without digging into the skin.
How often should I check my mask fit?
Check the fit immediately after donning the mask. Re-check it if you feel air leaking, if the mask shifts, or if you have been wearing it for a long period. Regular checks help maintain protection and comfort.